Painting a Frankenstrat
Turning my first Ibanez into a Frankenstein guitar

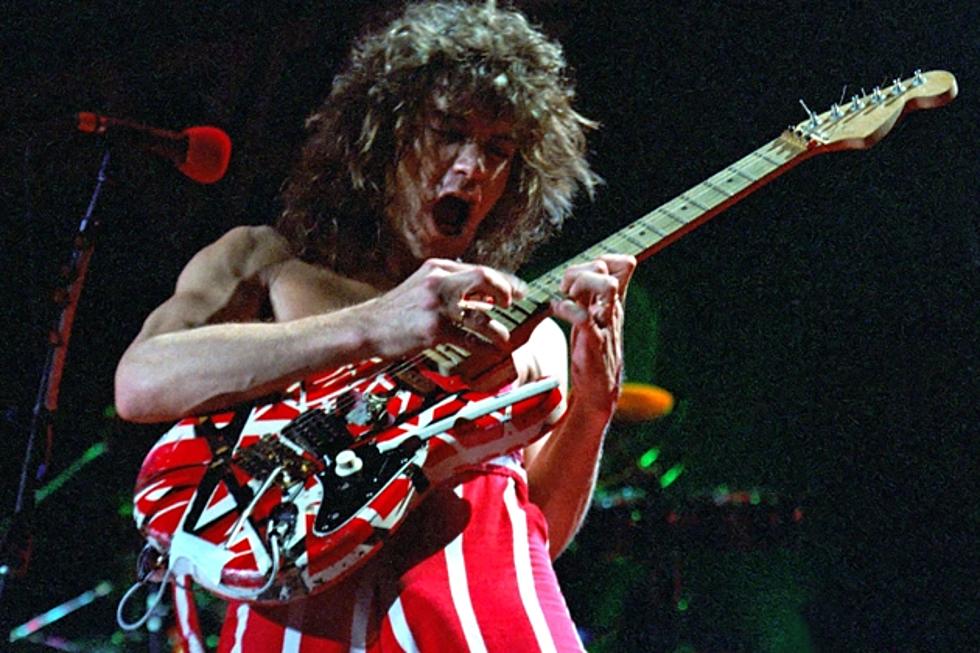
Like most people I discovered Van Halen as a teenager and was hooked instantly. The blazing riffs and guitar solos had mesmerized me at a time when I was just about able to play some simple riffs by Nirvana or AC/DC on guitar.
Eddie Van Halen helped produce and pioneer some iconic sounds along with novel playing techniques which hadn't been widely adopted yet. However the Frankenstrat guitar would be one of his most memorable creations.
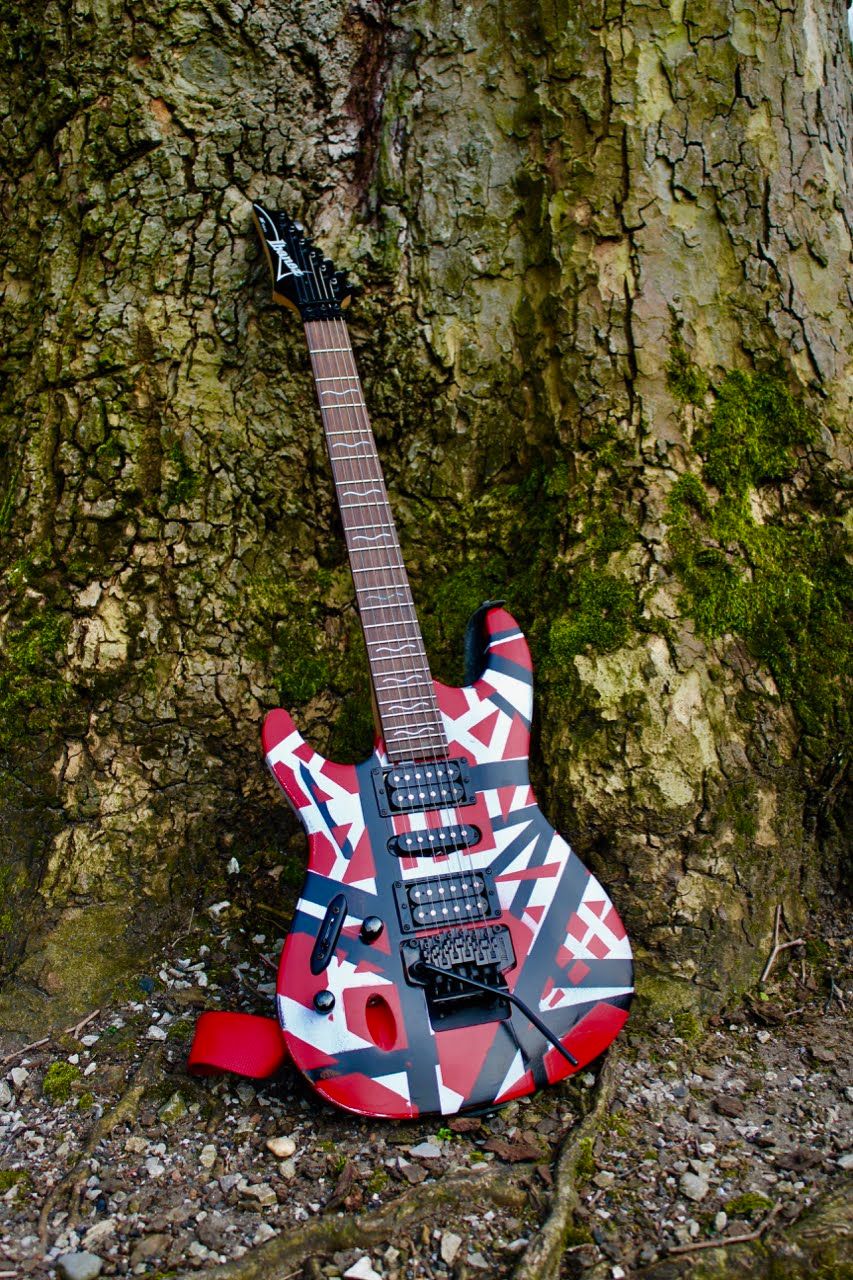
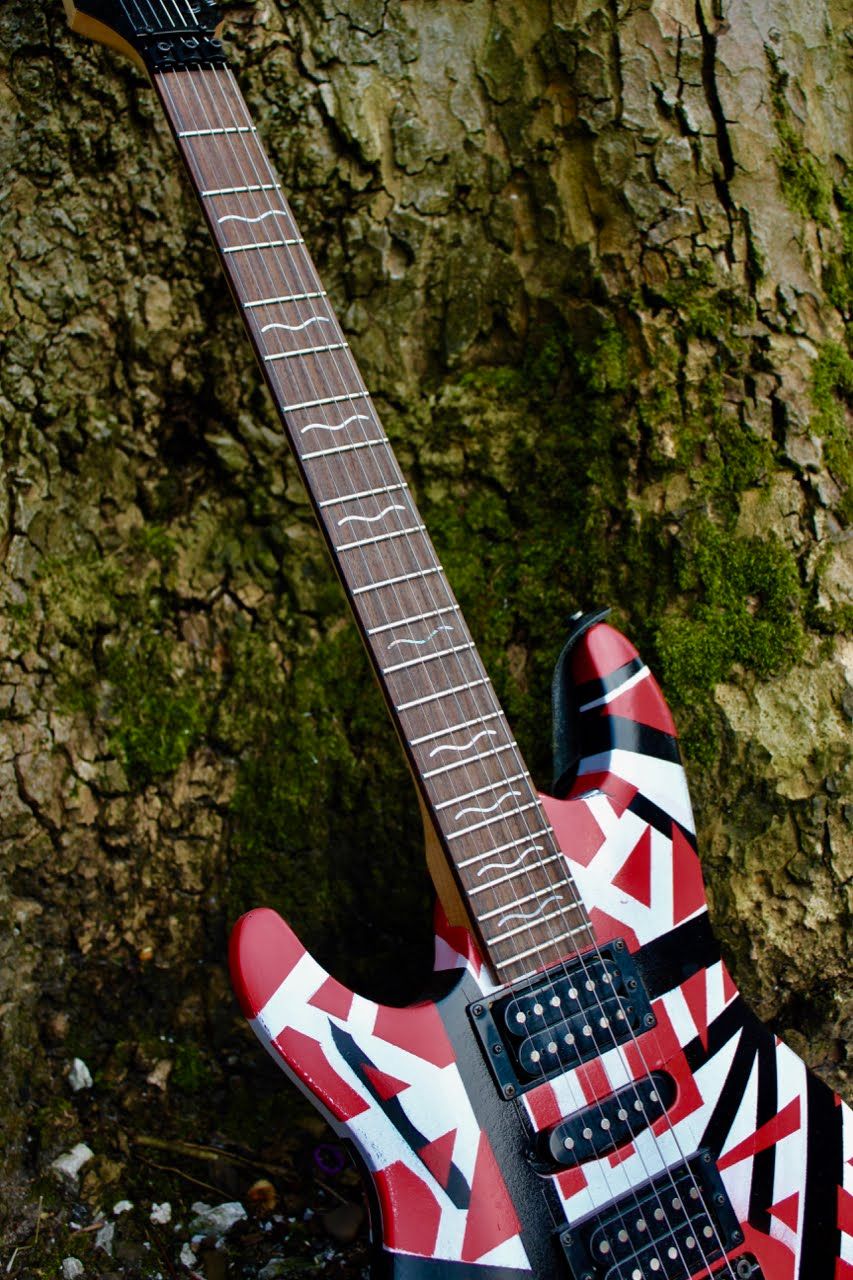
The paint job on the Frankenstrat has always fascinated me with its layers, colours and lines. After watching a few videos online, I just had to try it out for myself.
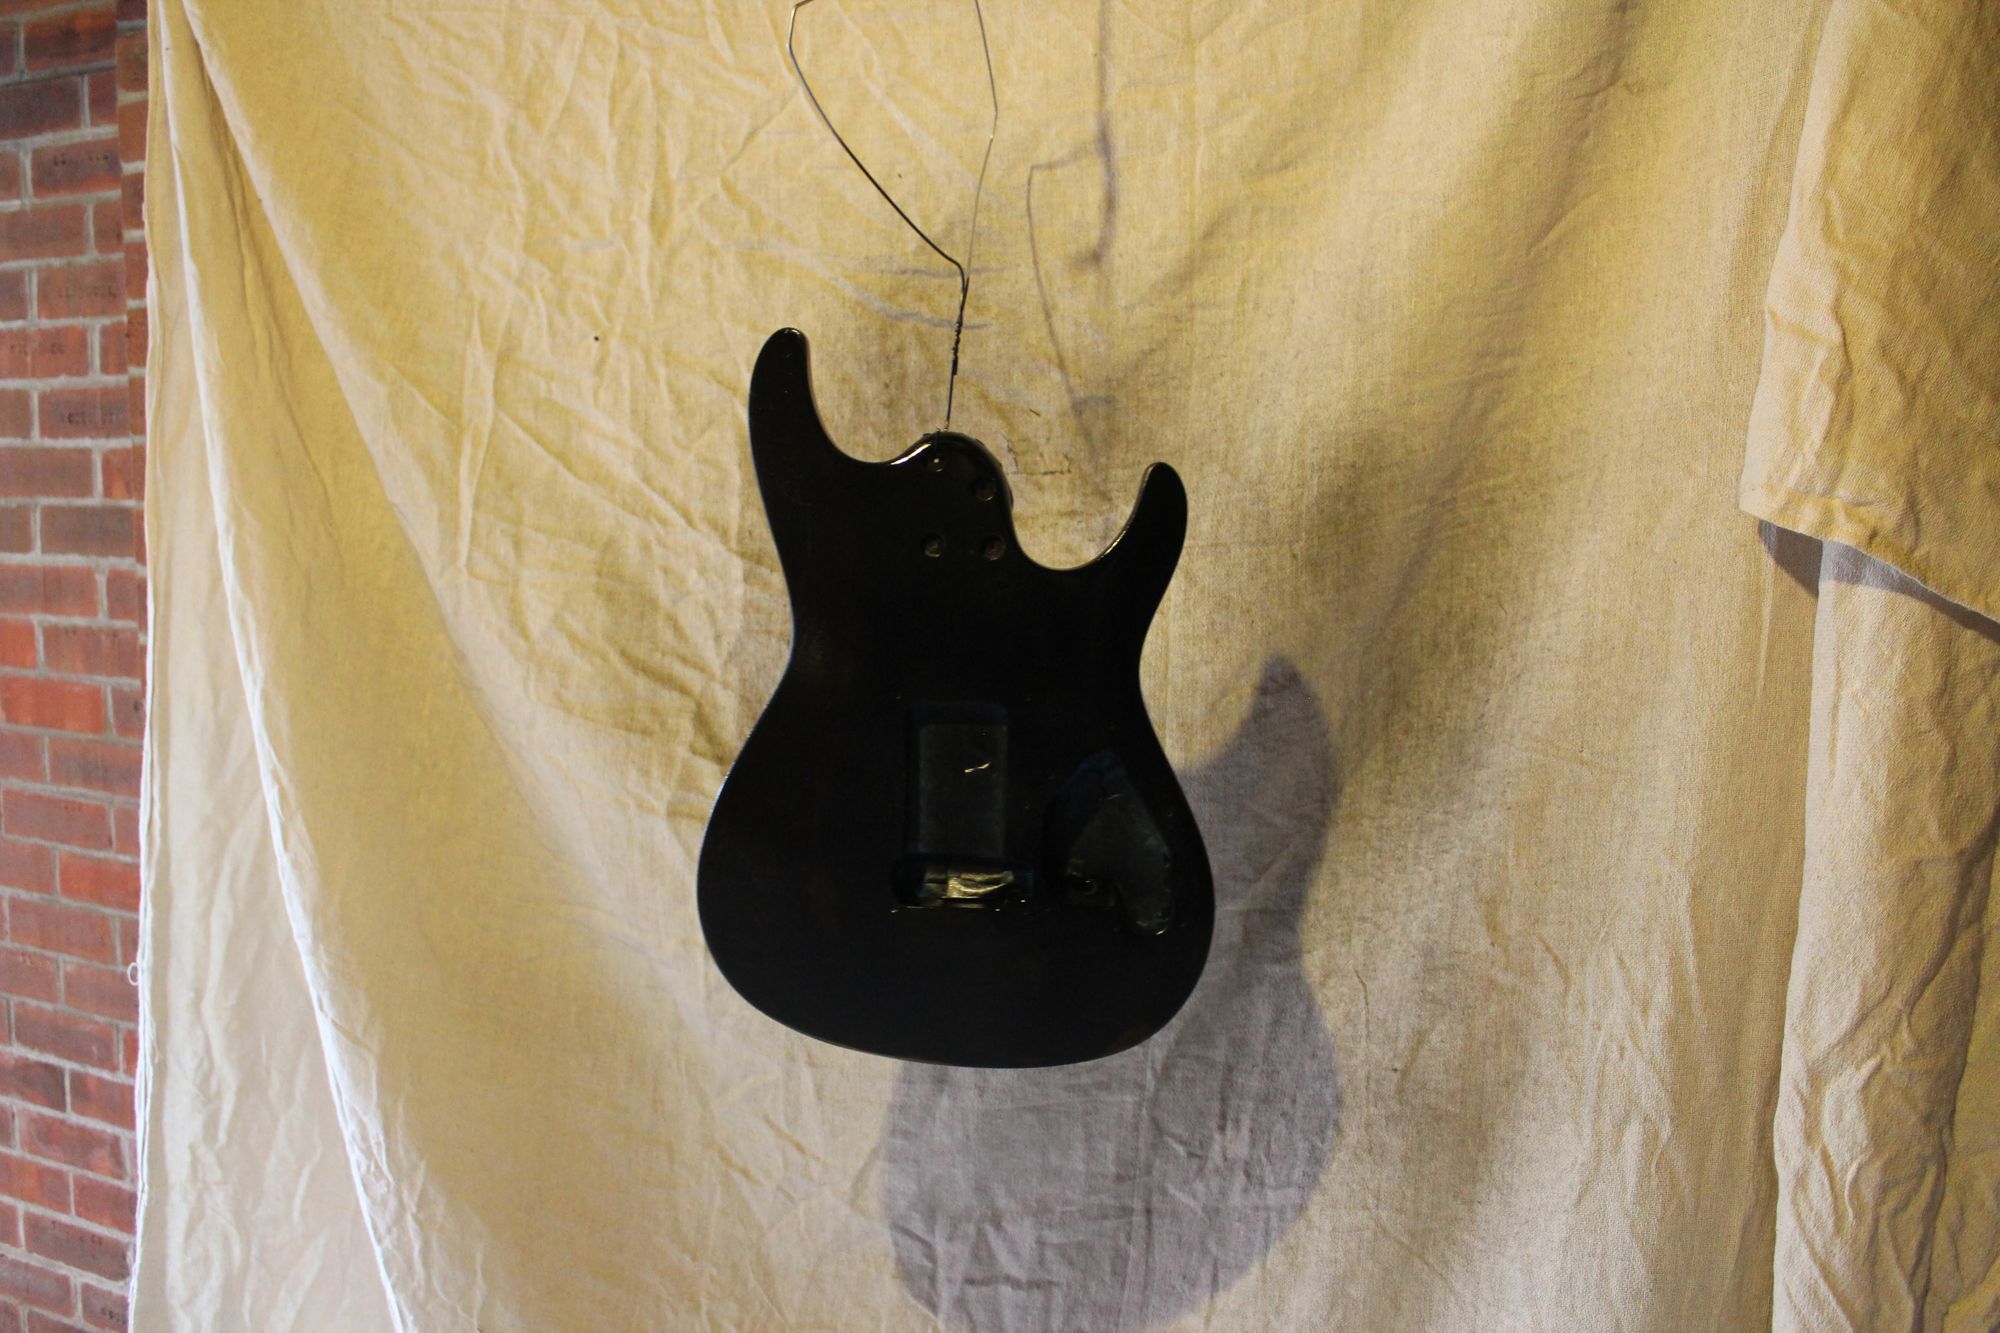
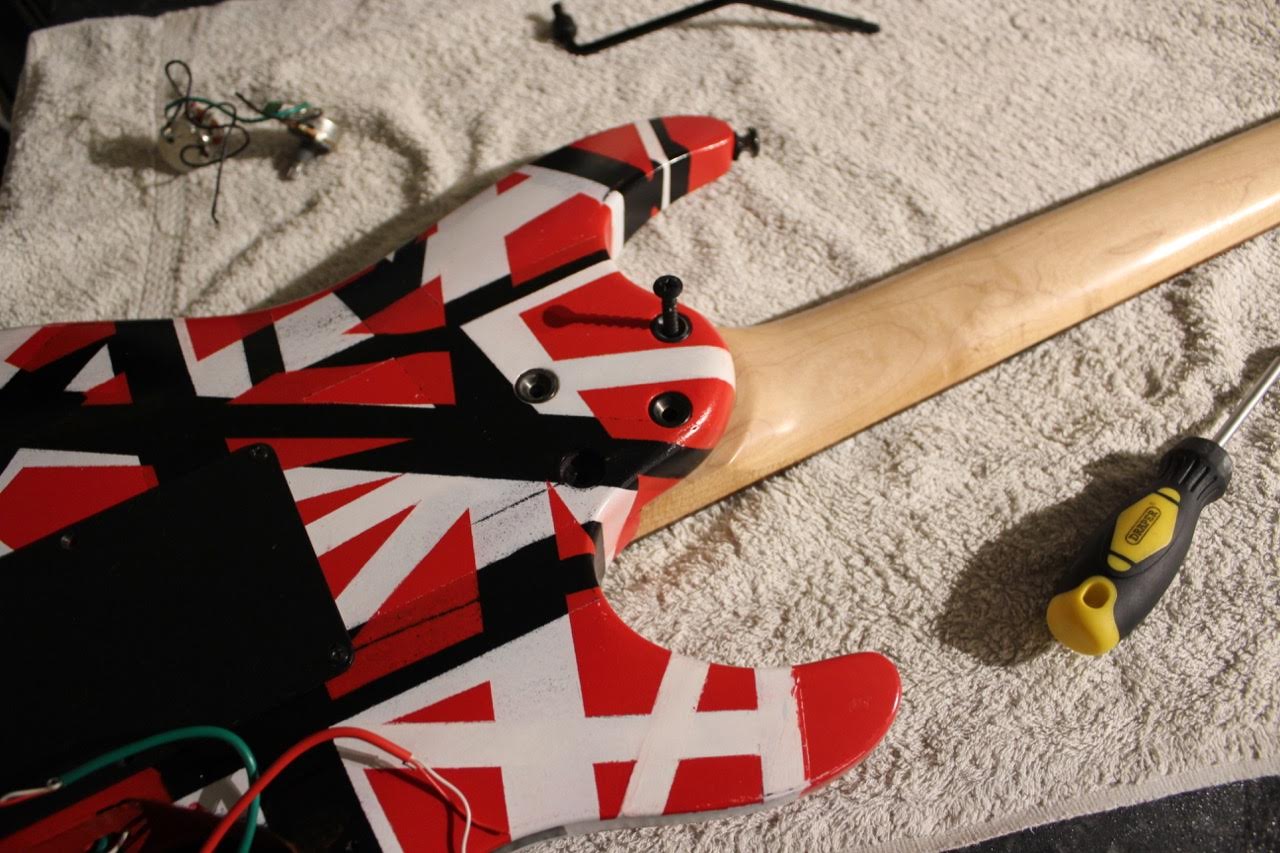
Constructing a guitar from scratch did not appeal to me, so I went with the option of repainting my first Ibanez guitar, an S370L.
Materials
- One can of red auto spraypaint gloss
- One can of white auto spraypaint gloss
- One can of red auto spraypaint gloss
- Frogtape / masking tape
- Paint coverall / sheets, to protect and catch any spray paint
- A coat hangar for hanging the guitar when spraying
Steps
- Sanding; to remove the gloss paint and make sure all surfaces were suitable for a new coat of black paint. Make sure you cover up any areas where electronics would have been on the guitar so you protect the earthing/shielding paint.
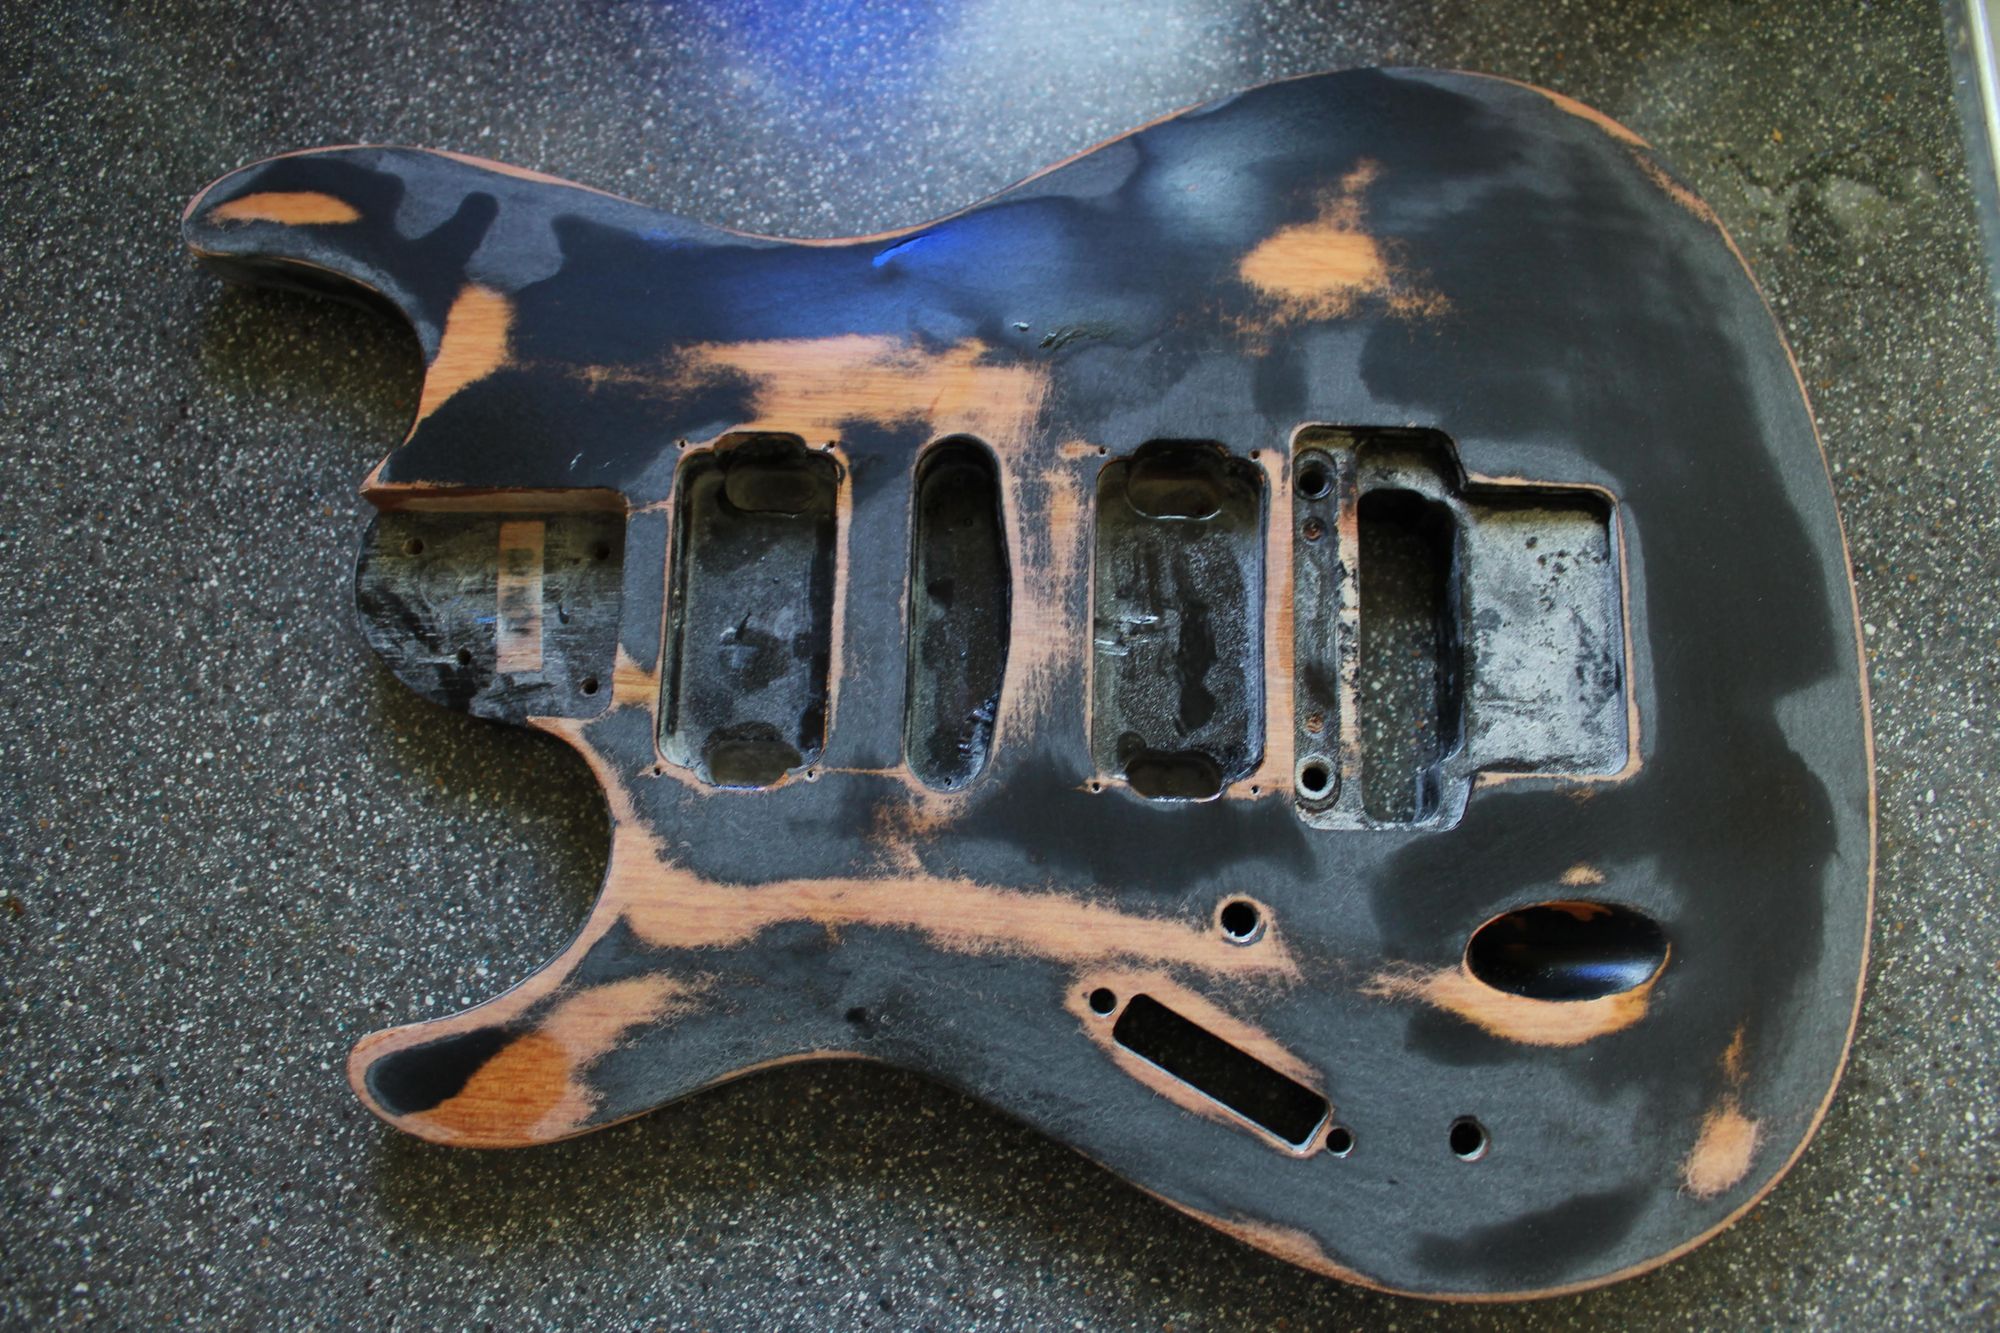
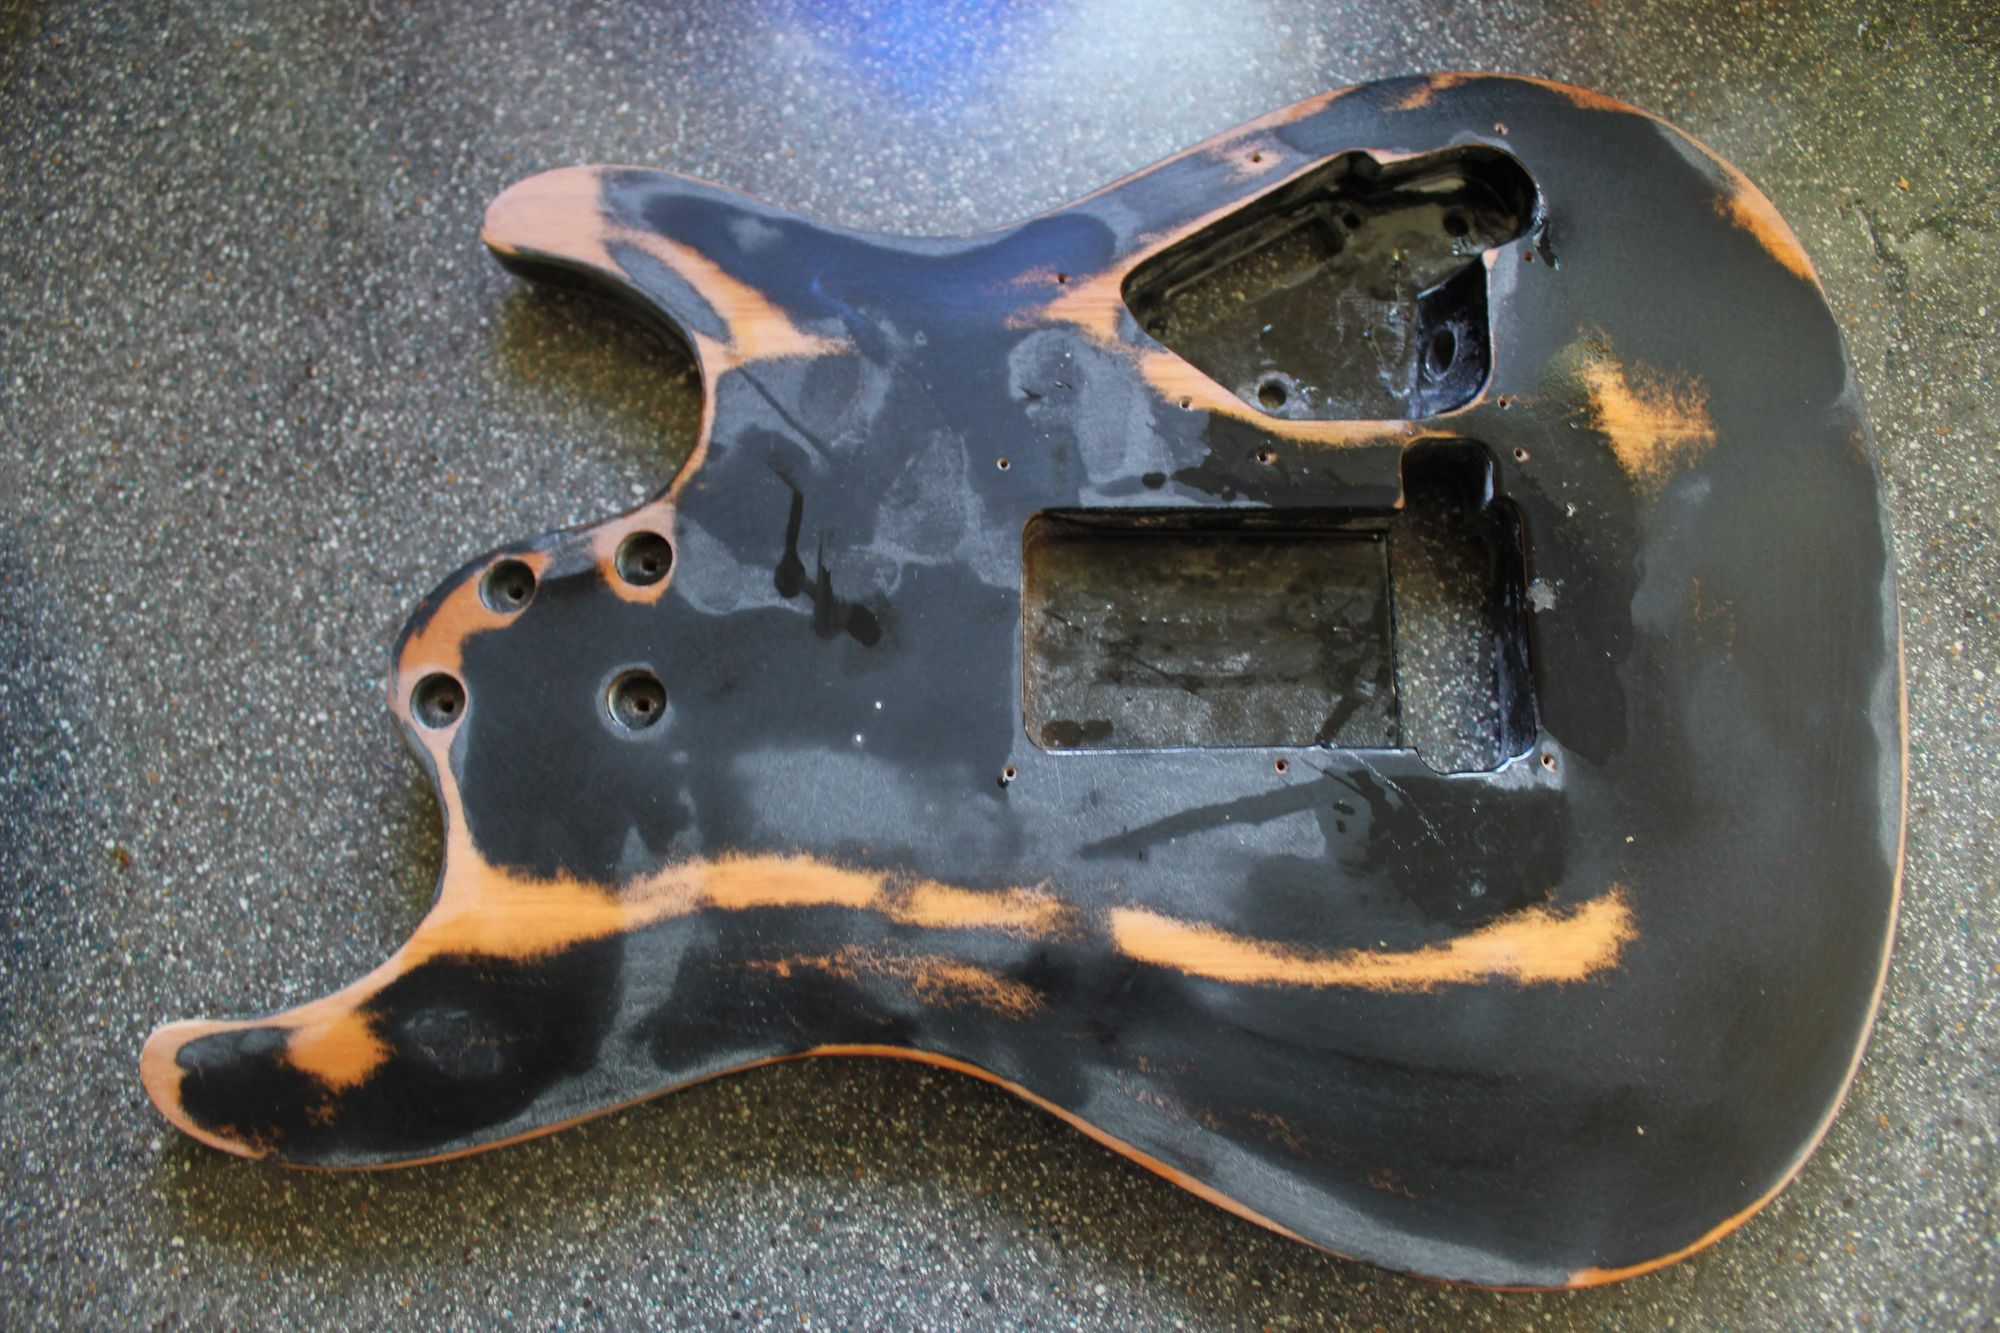
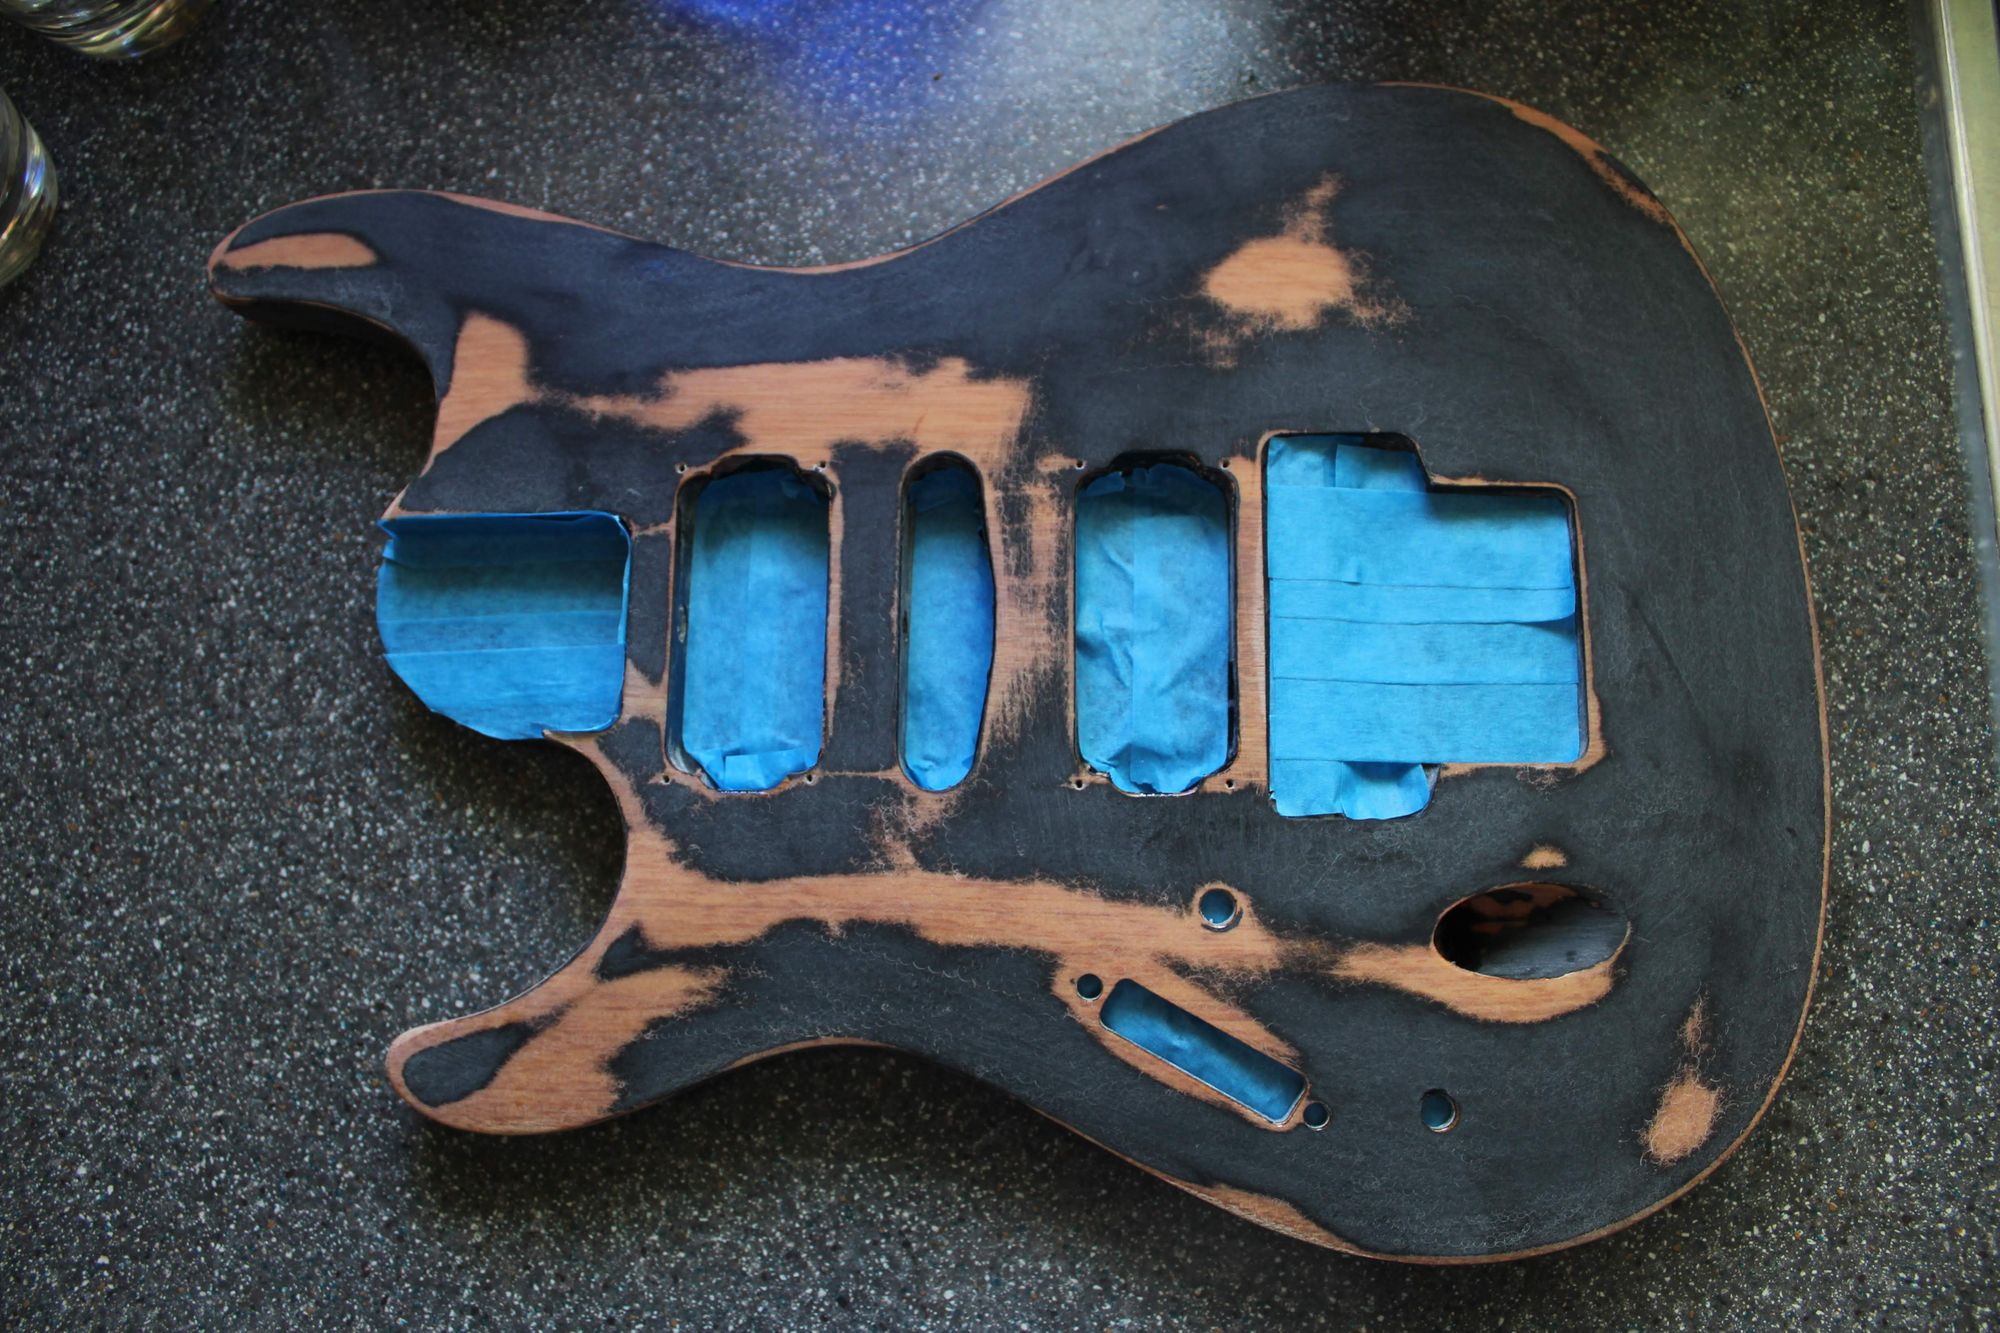
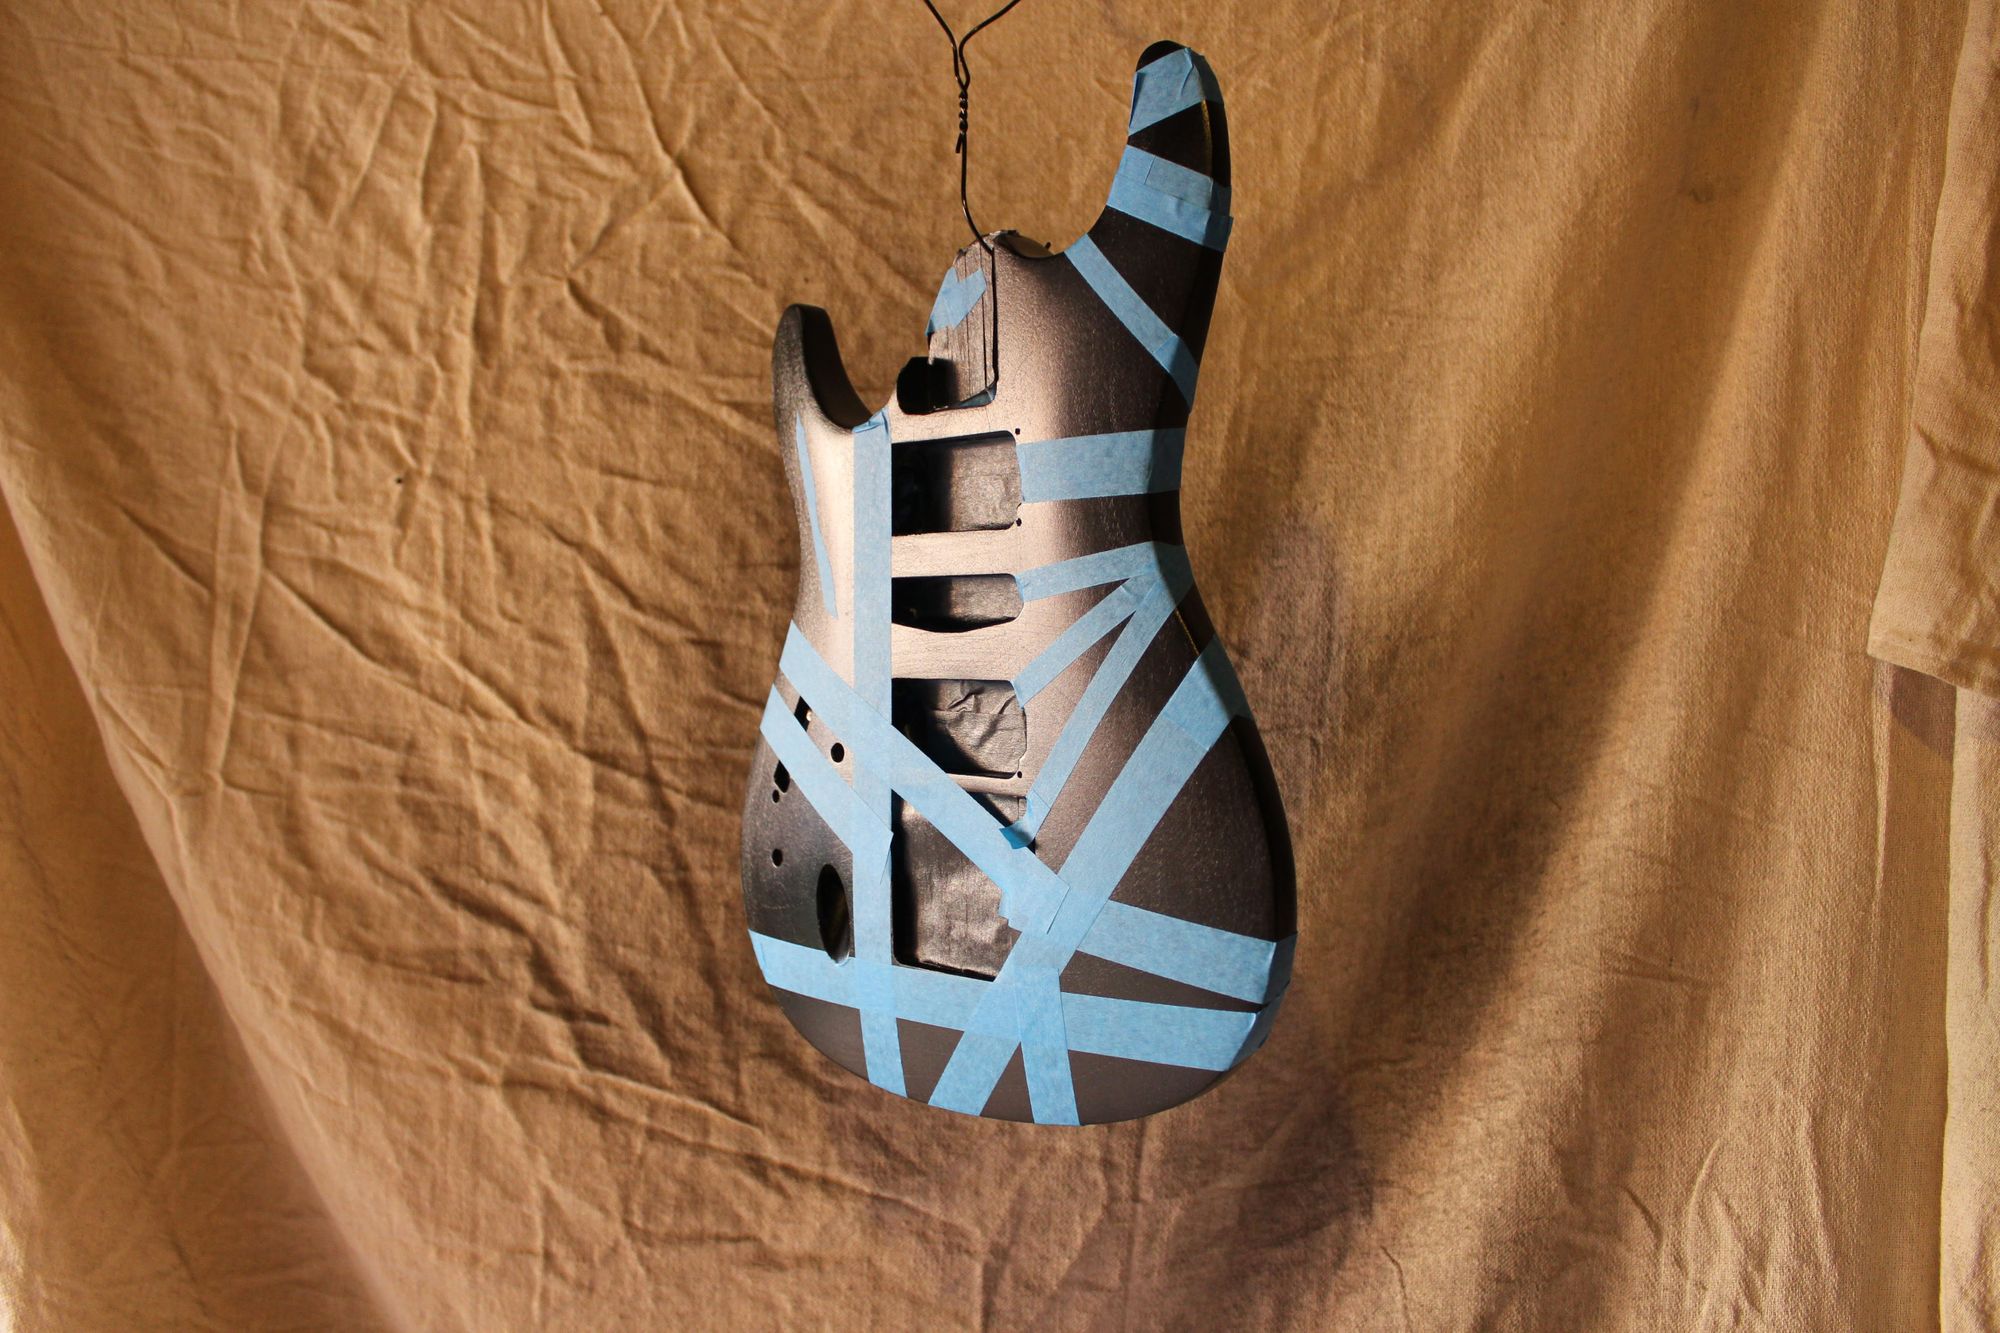
- The next step is to black primer coat- make sure you do not go too heavy with the spray painting as it will cause bubbles
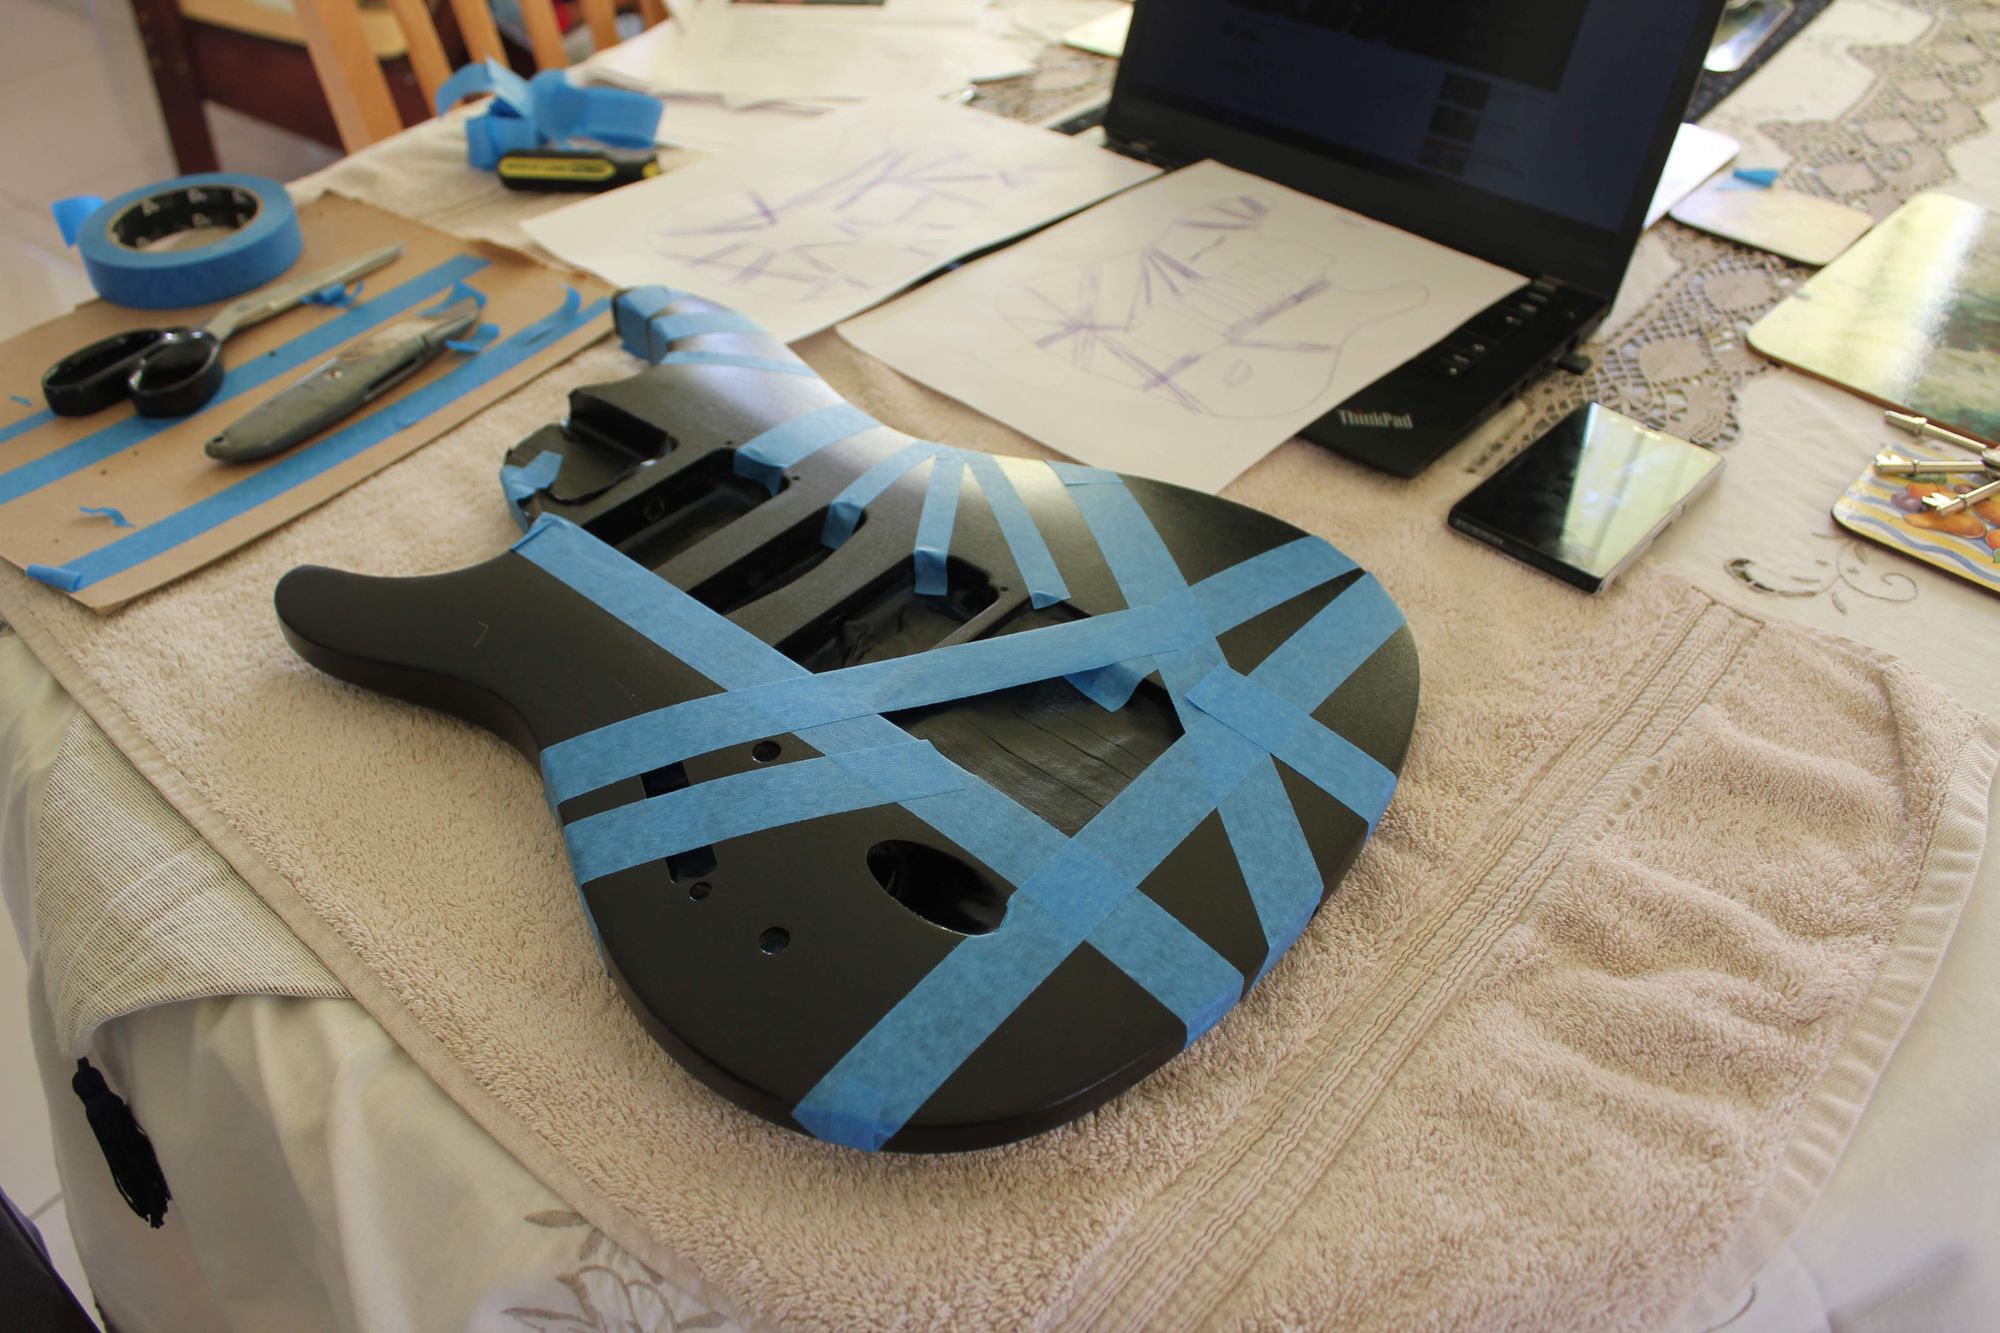
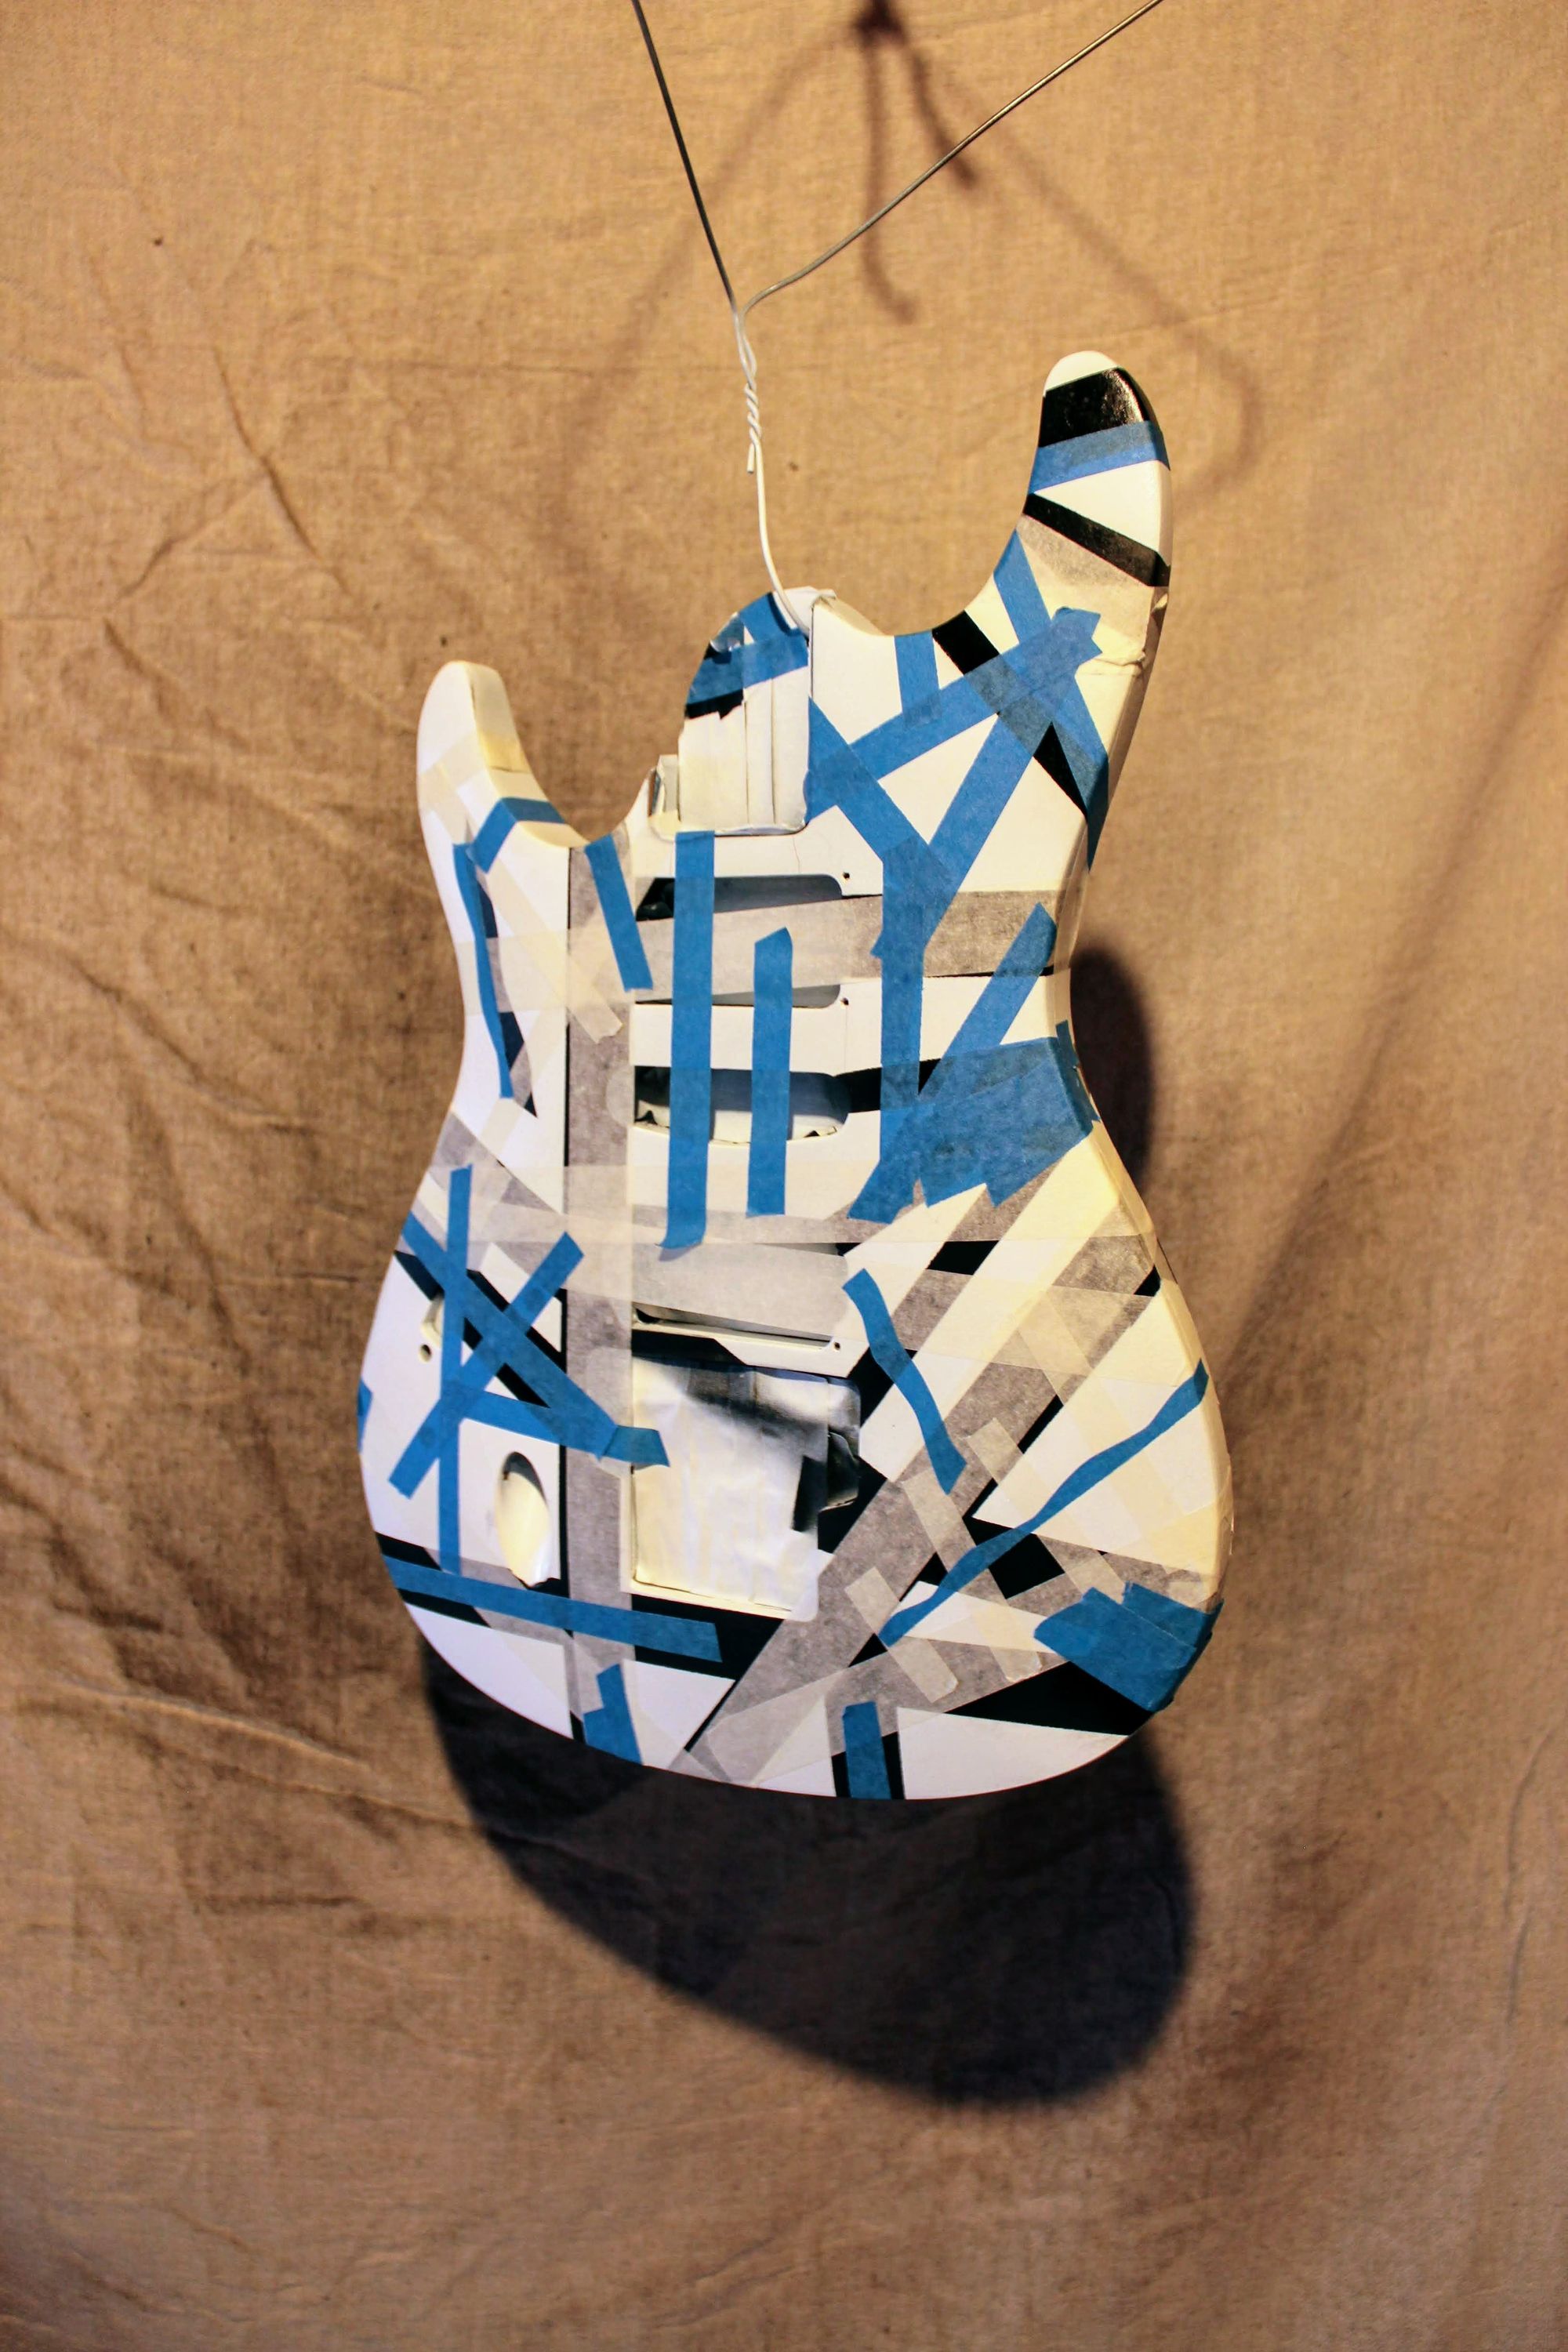
- Then start to do lines or any pattern you want on the guitar using masking tape, its helpful to cut thinner strips of the tape to shape more easily around the guitars curves and edges.
- Now you are ready to apply the white coat of paint. This will take time, so please be patient and let each layer build up until you have covered all the black basecoat.
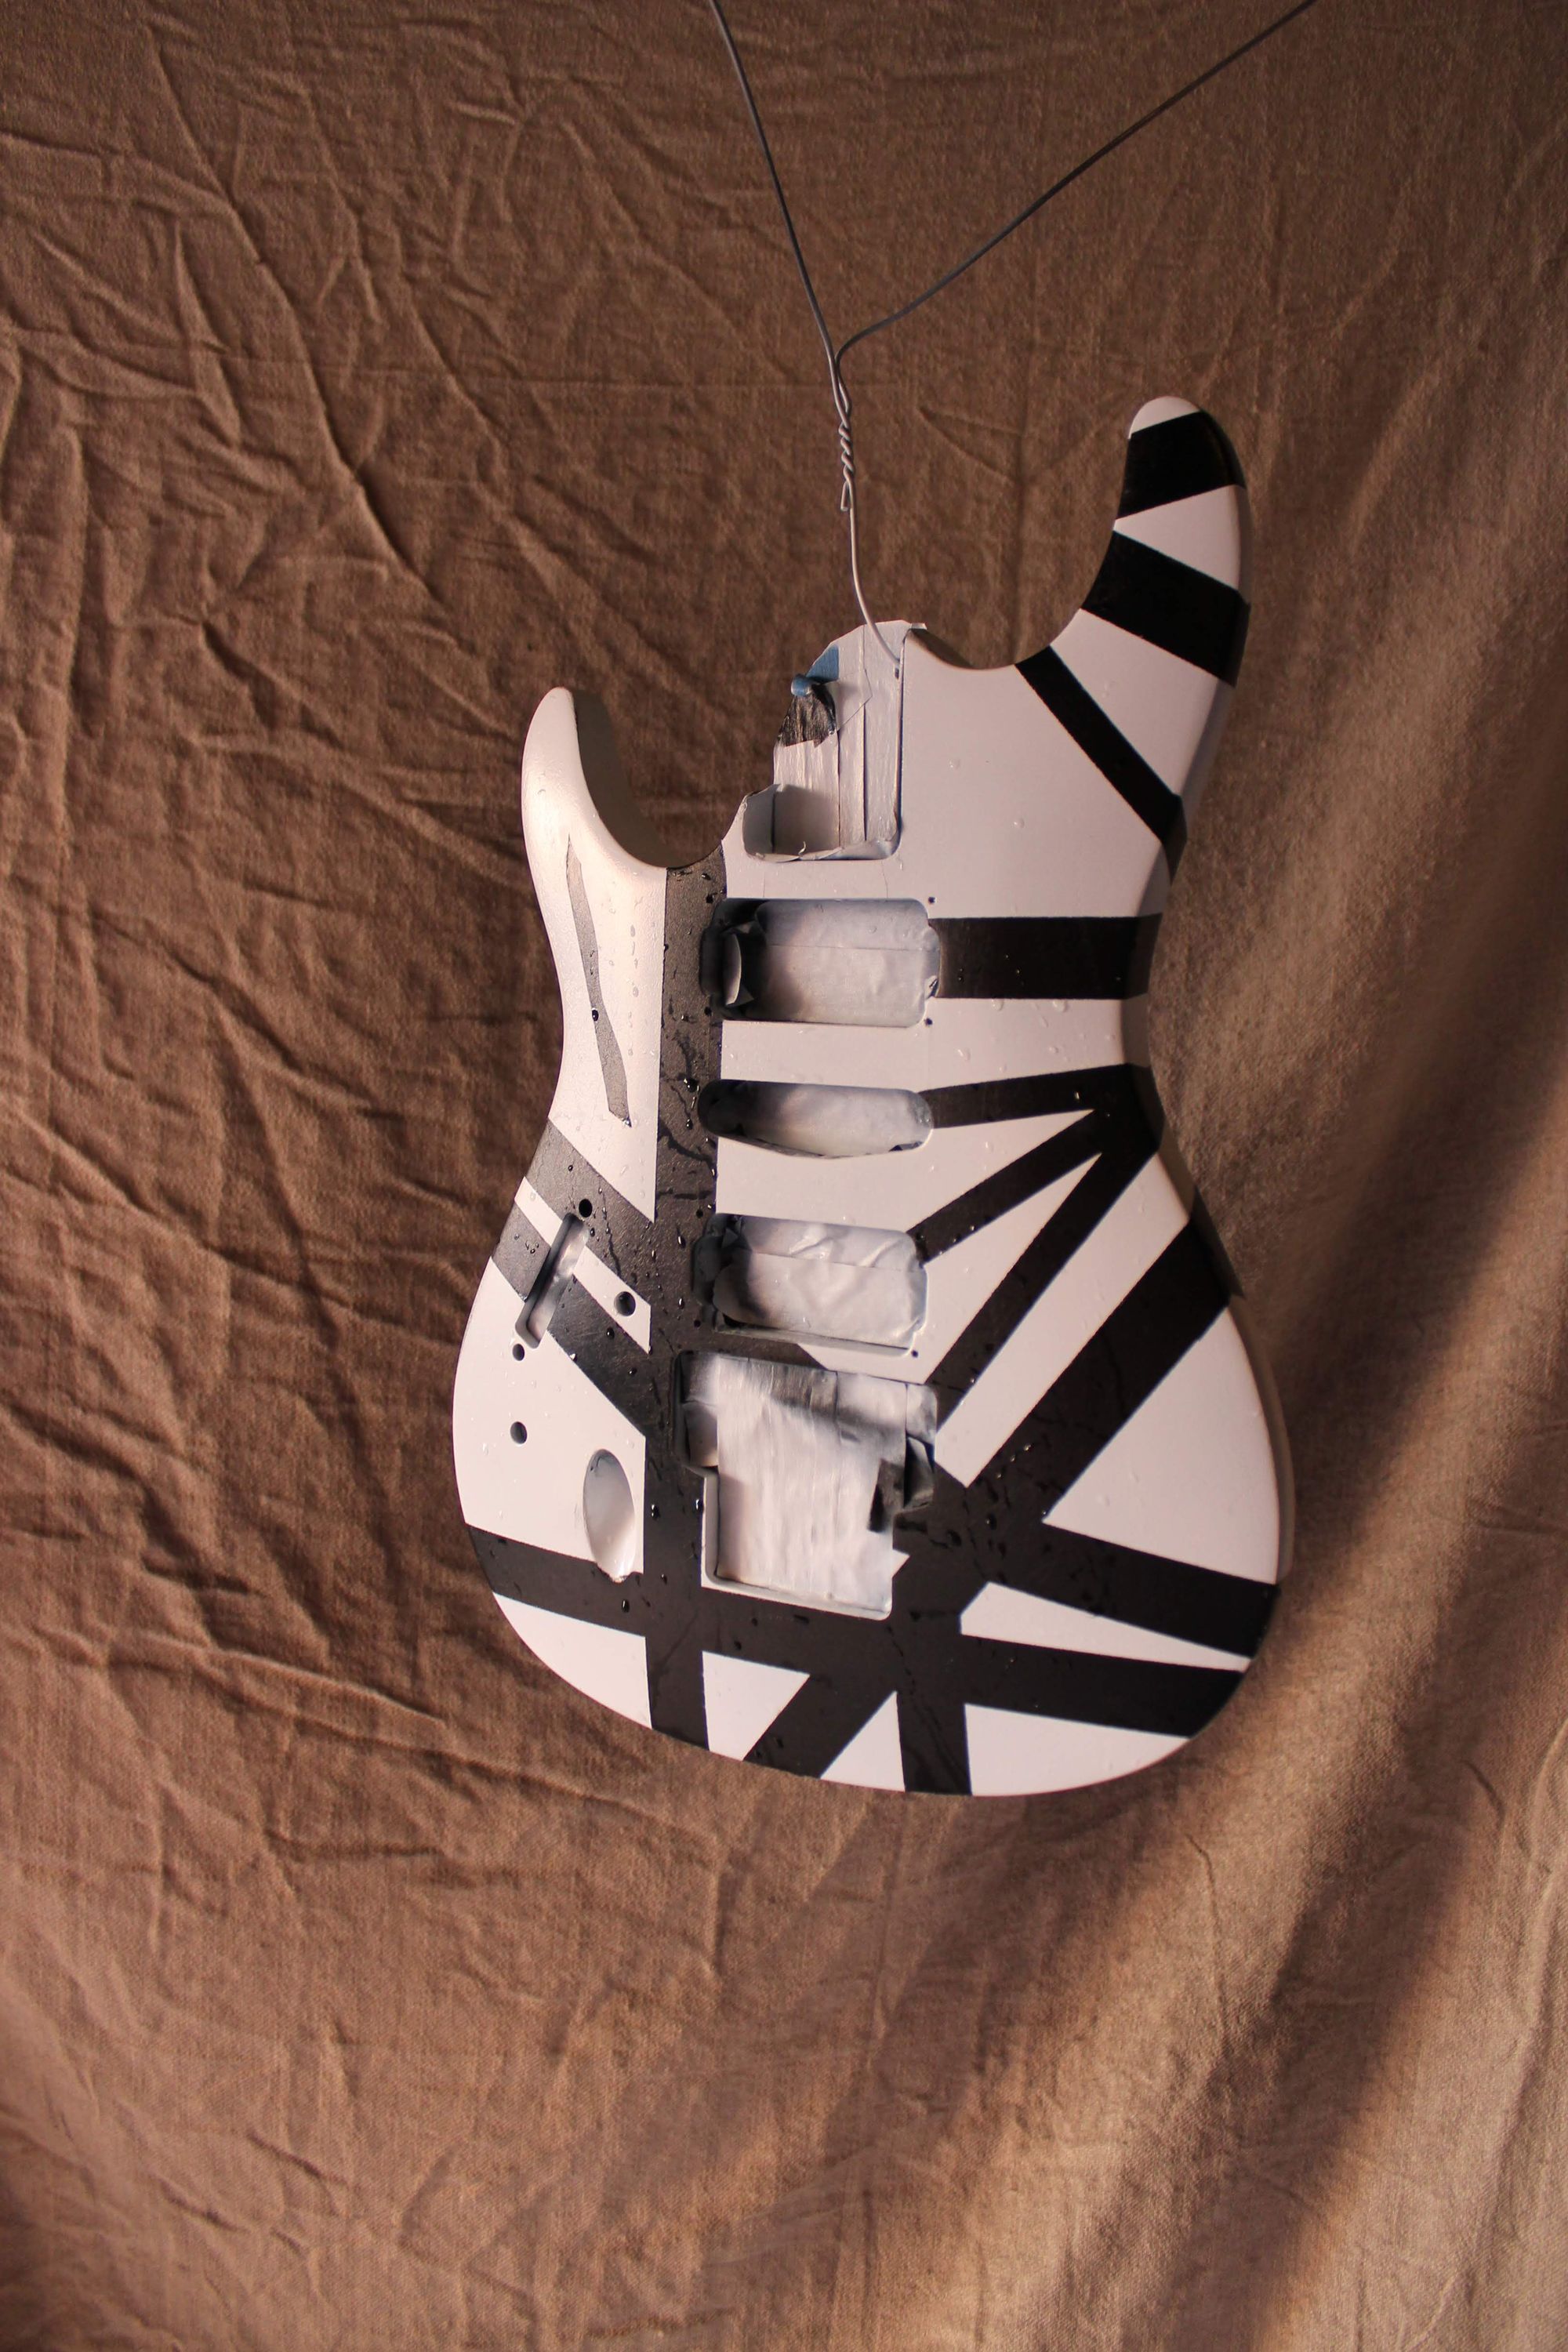
- Now its time to apply the final layer of masking tape. To get the desired effect you will want to remove some of the masking tape when you applied the white coat. Then add some new stuff on areas that were previously covered, as well as new areas. This will create the layered lines effect and criss crosses.
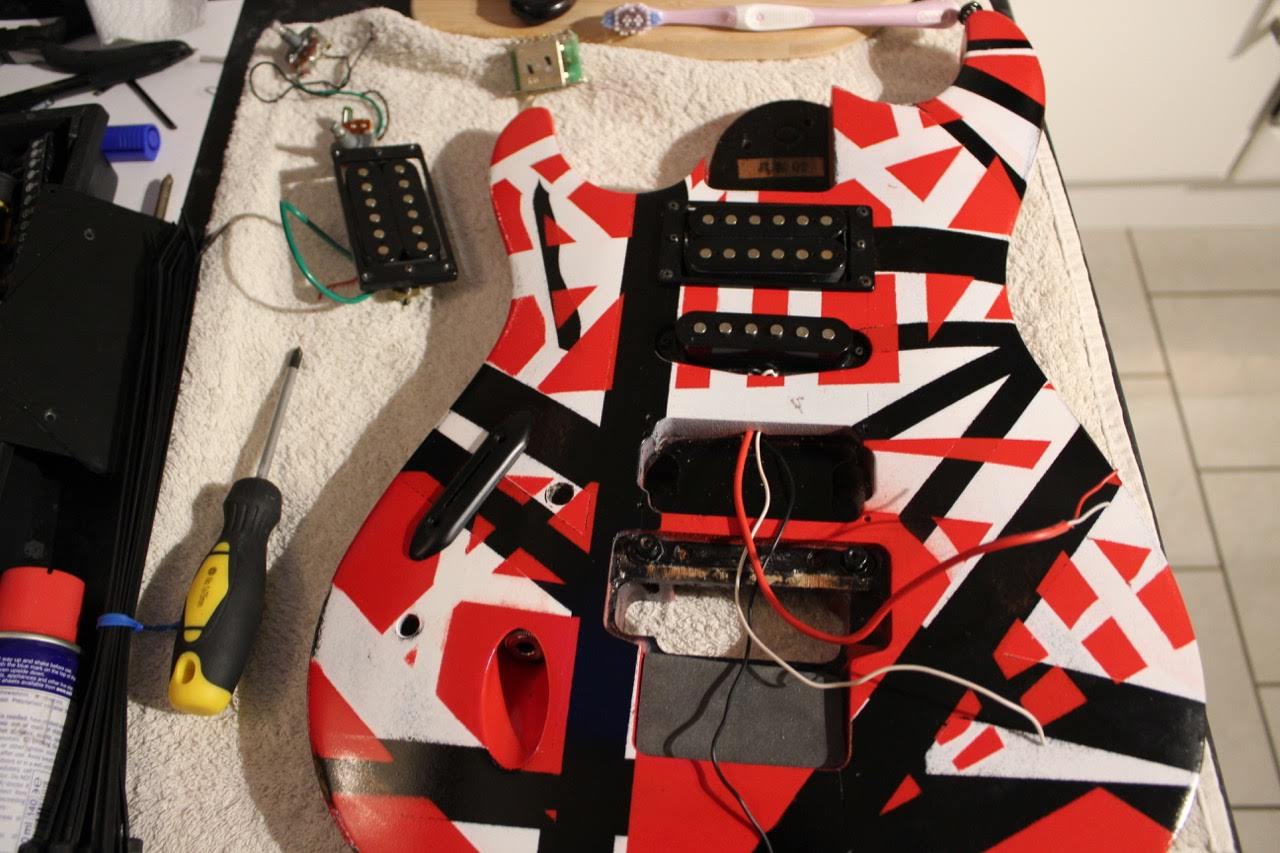
- Congratulations, the easiest part is over. Now comes the hard bit. You will have to wait a couple of days for the paint to cure. Then its time to do the lacquering with clear gloss spray paint. I won't go into details here as its covered on lots on videos. Check out this one.
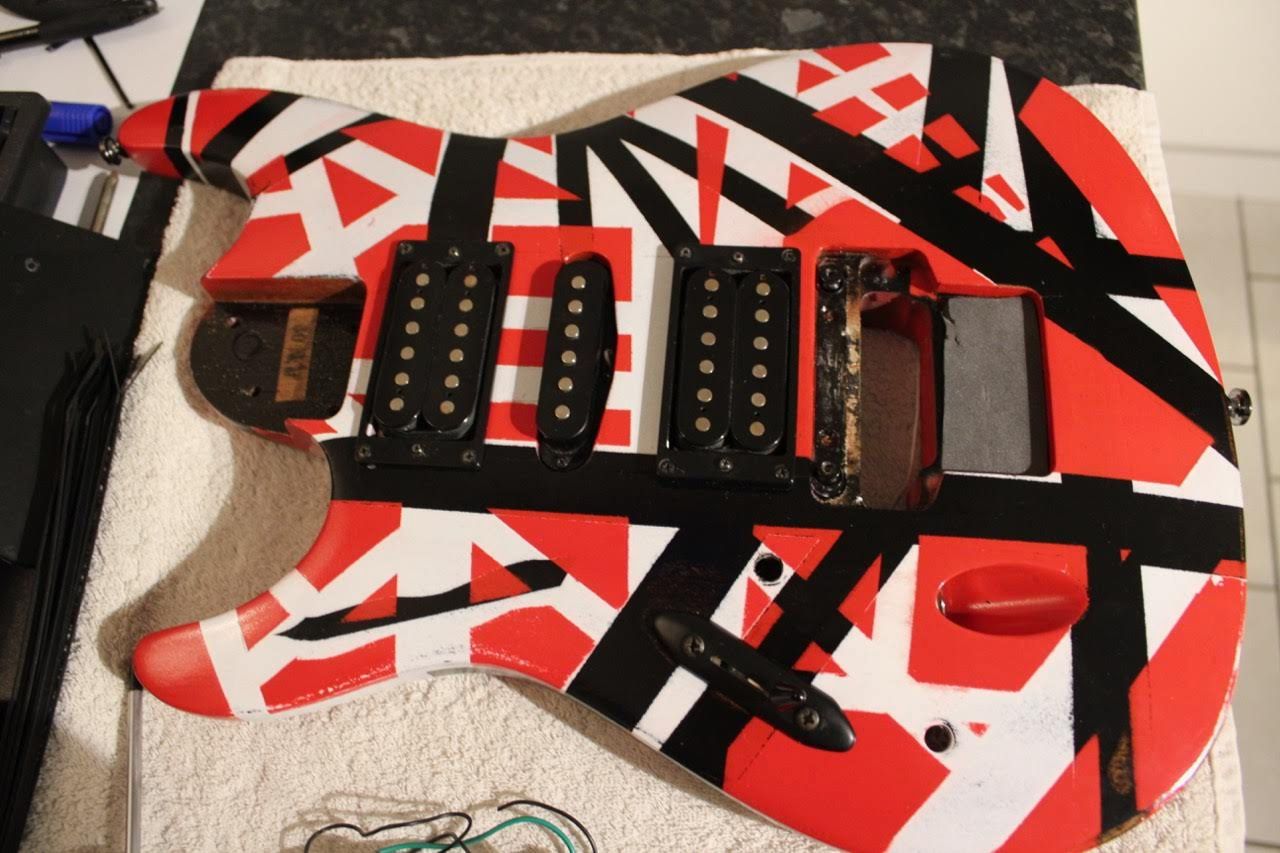
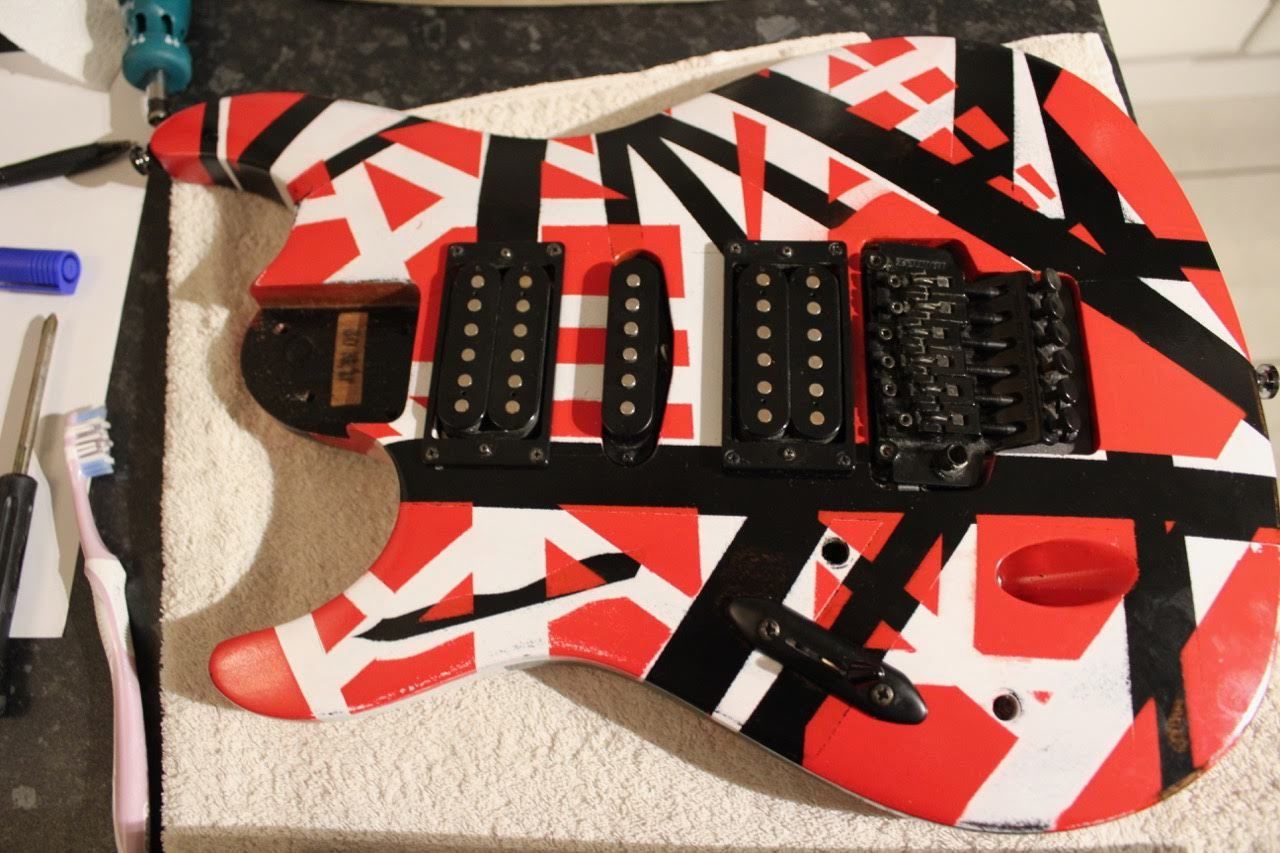
- Once the clear-coat has been applied, its time to re-assemble the guitar, hopefully you haven't lost any parts.
Final Result
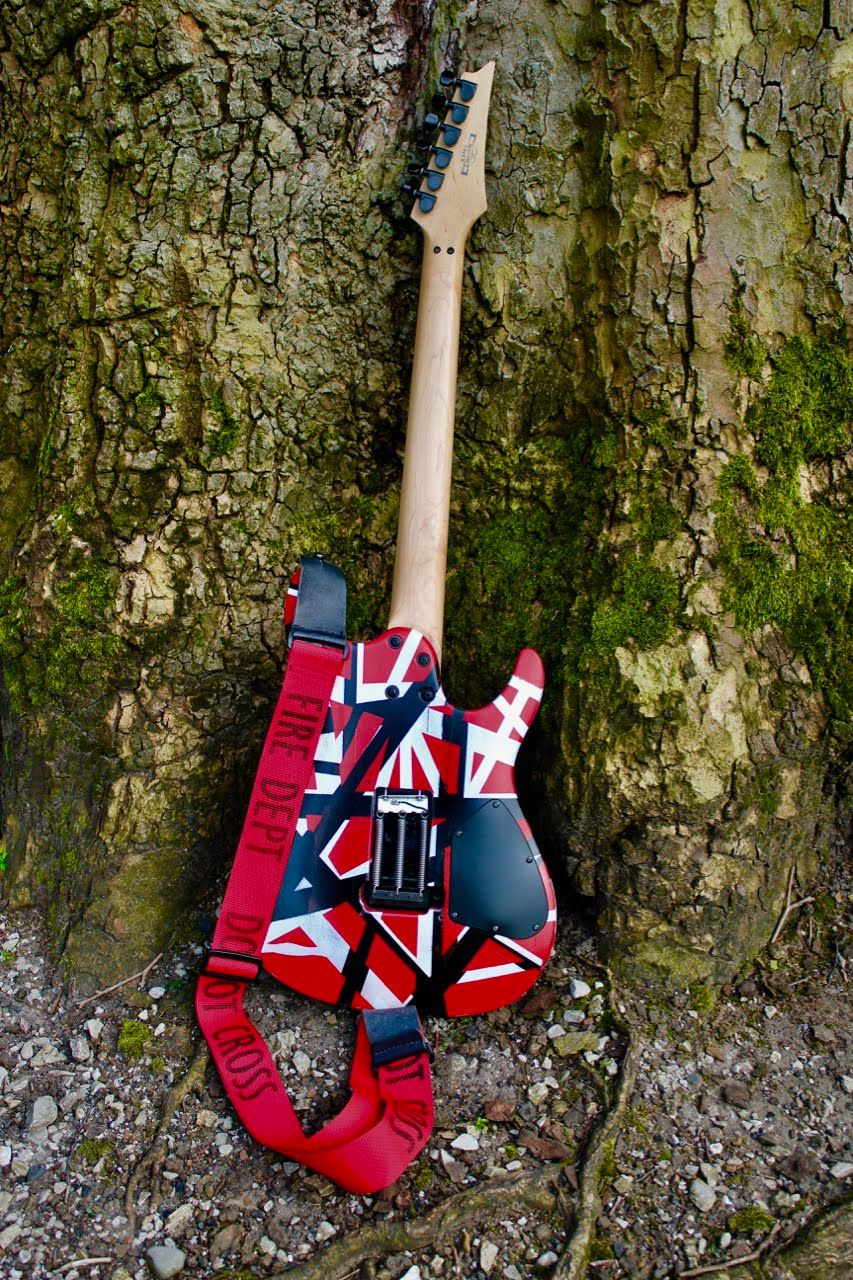
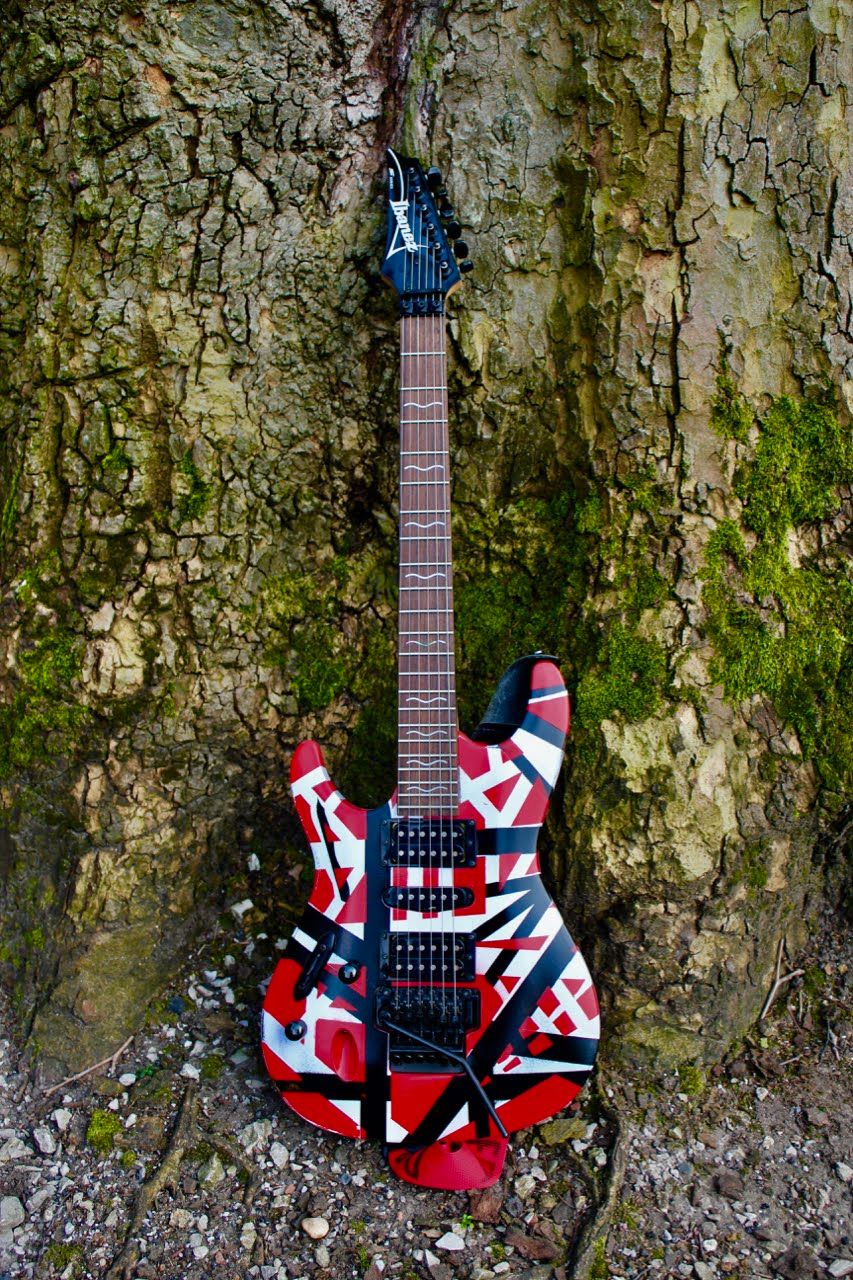
I was really happy with the result you can get, it just takes some planning and patience. This project could easily take someone the span of a few months to get it really perfect. Or could be rushed over a week.
Time to start shredding with this re-born guitar called, "Evie".